Ever wished your mouse had a mind of its own? Well, with a little Arduino magic, you can make it dance across your screen in a variety of patterns! Here’s a simple Arduino sketch hat does just this, and I’m excited to share my insights and explorations with you. You can always just buy ready made mouse jiggler, but this is a fun project and provides you with maximum customization.
Hardware Required
In order for the code below to work ,Boards with native USB support: The Mouse.h library relies on the microcontroller having built-in USB capabilities. This is because it needs to communicate directly with the computer as a USB device.
Which Arduino boards support Mouse.h?
Below is a partial list of some more popular boards. a complete list is impossible as new boards are released all the time..
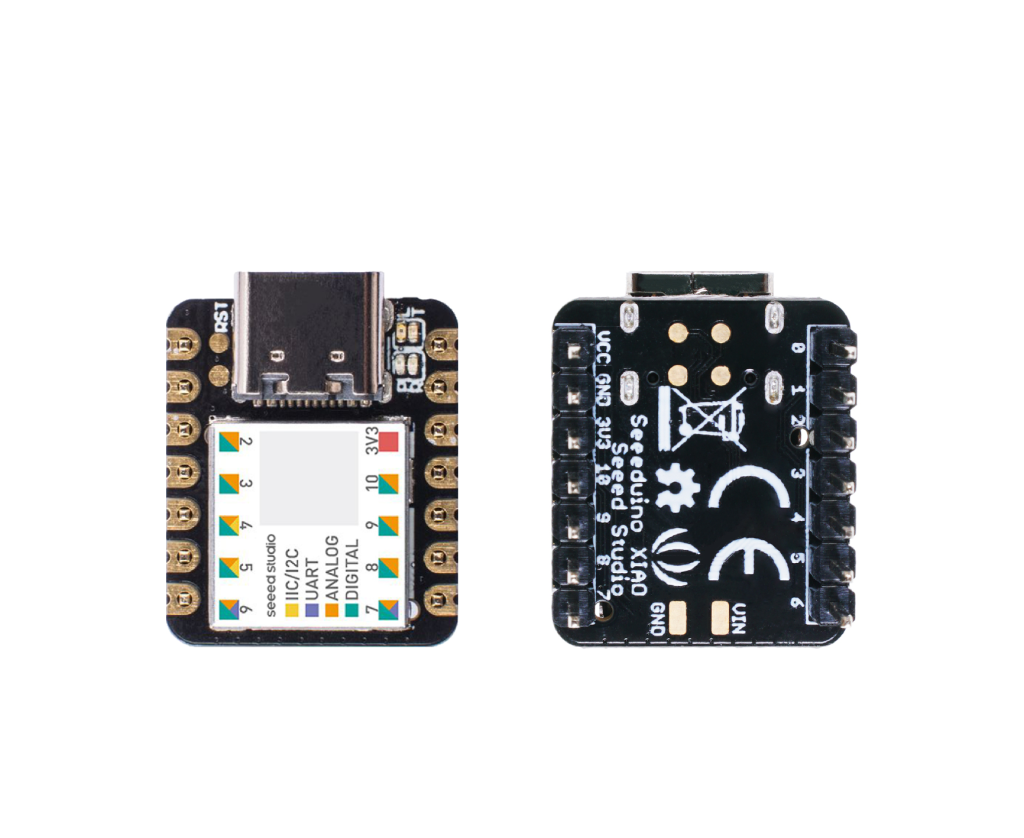
- Arduino boards based on the 32u4 or SAMD microcontrollers are compatible with the
Mouse.hlibrary. This is the board I’m using. - Arduino Nano ESP32: This board also supports HID functionality.
- Arduino Leonardo: This board is specifically designed with native USB support and is a popular choice for HID projects.
- Arduino Micro: Another small and versatile board with native USB.
- Arduino Due: A more powerful board with a SAMD microcontroller, also supporting native USB.
- Arduino Zero: Similar to the Due, this board also has a SAMD chip and USB HID support.
- Arduino MKR Family: Many boards in the MKR family have native USB and can use the
Mouse.hlibrary. - Arduino UNO R4 Minima: The latest UNO revision supports HID, a feature not found on previous UNO boards.
- Arduino UNO R4 WiFi: Like the Minima, this board also supports HID.
- Arduino GIGA R1 WiFi: This powerful board supports HID through its USB-C port.
The Code Behind the Movement:
Forget boring, predictable movements – this code introduces a whole repertoire of mouse maneuvers, from classic geometric shapes to more organic, “realistic” paths. The code, written in C++, is surprisingly elegant. It defines several movement patterns using an enum: zigzag, circle, ellipse, random, and a particularly intriguing “realistic” mode. Each pattern has its own dedicated function that dictates how the mouse cursor should move.
Visit my github page for this code: Arduino-Projects/jiggler at master · acbrandao/Arduino-Projects
What makes this project particularly interesting is the use of Bezier curves for the “realistic” movement. Bezier curves are a powerful tool for creating smooth, natural-looking paths, and their implementation here results in mouse movements that feel less robotic and more, well, realistic!
The code also incorporates randomness in two key ways. First, it chooses a random pattern from the available options. Second, it introduces random intervals between movements. This prevents the mouse from moving constantly, making the overall behavior feel more dynamic and less predictable. A clever microMove() function is used to prevent the OS from thinking the mouse is inactive during these movements. It makes tiny back and forth movements.
Diving Deeper:
Let’s take a closer look at some of the key elements:
PatternDistancesstruct: This structure allows for easy adjustment of the “size” of each movement. Want a bigger circle? Just tweak thecirclevalue in themoveDistancesstruct. This makes it incredibly simple to customize the mouse’s dance moves.bezierPoint()function: This function is the heart of the “realistic” movement. It calculates points along the Bezier curve, allowing for smooth and natural-looking mouse paths. The code cleverly generates random control points for the Bezier curves, resulting in a wide variety of realistic movements.shouldMove()function: This function uses themillis()function to keep track of time and trigger mouse movements at random intervals. This adds an element of surprise to the mouse’s behavior.
Why This Matters:
Beyond the sheer fun of watching your mouse go wild, this project demonstrates some important programming concepts:
- Working with libraries: The code effectively utilizes the Arduino Mouse library to control the computer’s cursor.
- Enums and structs: These data structures help organize the code and make it more readable and maintainable.
- Trigonometry and geometry: The circle and ellipse movements involve basic trigonometric calculations.
- Random number generation: The use of
random()adds unpredictability to the mouse’s behavior. - Bezier curves: The “realistic” movement demonstrates the power of Bezier curves for creating smooth, natural paths.
Further Explorations:
This project is a great starting point for further experimentation. Here are some ideas:
- Adding more patterns: Why not add a spiral or figure-eight pattern?
- Interactive control: Could you control the mouse movements with a joystick or other input device?
- Customization: Experiment with different parameters for the Bezier curves and other movement patterns.
- Visual feedback: Use LEDs or other visual indicators to show which pattern the mouse is currently executing.
Conclusion:
This Arduino-powered mouse control project is a fun and educational way to explore programming concepts and create something truly unique. It’s a testament to the power of microcontrollers and the creativity of the maker community. So, grab your Arduino, dust off your mouse, and get ready to make it dance! You can find the code [insert link to code if available]. Happy tinkering!